
bathroom fans are one of the most essential appliances in any home. If you’ve got a bathroom, you probably have a fan in there somewhere. If not, then you’re missing out on one of the most important parts of any home – plumbing. A bathroom fan is a small appliance that vents air around the inside of a bathroom or another area while keeping it cool. Bathroom Fan Install
There are different kinds, models, and sizes of bathroom fans available so it’s worth looking over your options first. While some may be more suited to specific uses than others, there is no reason why an average home shouldn’t have at least one bathroom fan installed. Installations for other reasons are discussed below. Bathroom Fan Install
Find the power source
Most bathroom fans are built to be put in either a wall or ceiling mount configuration. If you choose to use a wall mount, you’ll need to find a source of power. There are a few options worth considering: 480V and above from appliances electrical panel from home appliances from a hardware store Some major appliances such as a toaster or refrigerator come with a built-in receptacle for power. If you have an outlet in the house, you can plug in your washroom bower to charge it.
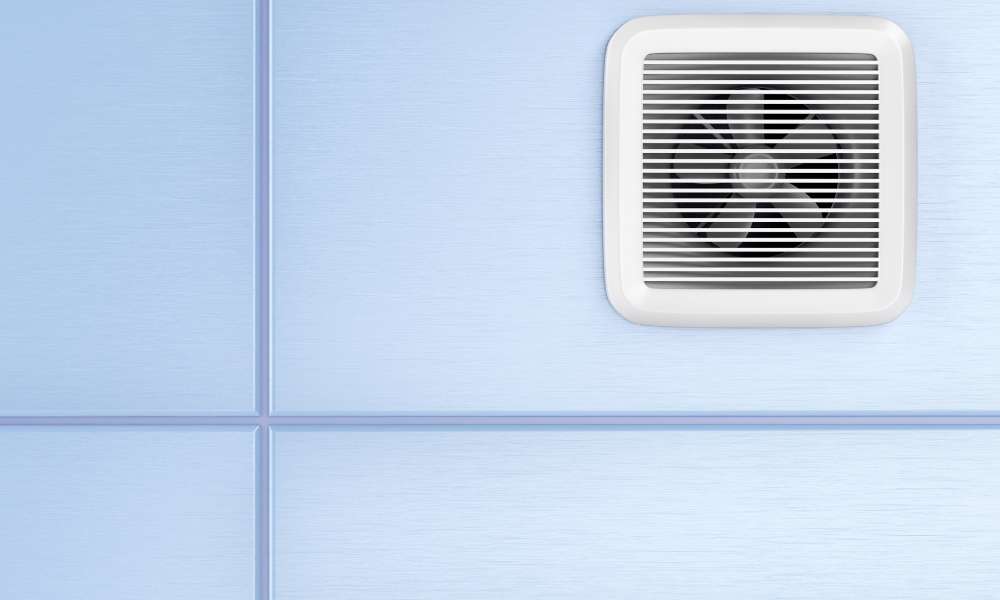
Identify the Vent point
The first thing to check on a washroom bower is its location. This is important so you can determine where it is mounted and for how long it will stay on the wall. Some bowers are only designed to be hung on the wall, while others may have a built-in timer that will cycle the air cooler when it is needed to vent air. Some air cooler are portable, meaning they can be hung on a wall or a ceiling panel. Other models come with an outdoor version that advertises itself as a “bouncer” but actually keeps the indoor bower running while the homeowner is away. To find the exact model in your home, turn the power control on and look under the “Fan Options” section.
Cut the exterior opening.
To get the most out of your washroom air cooler, you’ll need to make some incisions. This is where you will make small cuts so the air inside the room can escape. It’s not necessary to make a shallow cut, but a deep cut is better than no air at all. The cut must be at least a quarter of the size of an inch. Using a Dremel or hacksaw, cut the exterior opening from one side to the other. The opening should be no less than 1/4 of an inch.
Cut the interior opening.
The interior openings on a washroom blower are the places where the air is actually kept. The best idea is to go with a manufacturer’s desk or wall-mounted fan that has a built-in vent. These are the best options for a washroom blower that is small and light. When not in use, the washroom fan can be left outside or stored in the garage.
Fit the vent fan to the joist.
At the end of the day, the washroom blower is just an extension of the home. It shouldn’t be mounted on the wall or hung from a CeilingPanel. Instead, a vent air cooler should be located on the joist, near the bottom of the wall or near the edge of the floor. This is where air once escape and is then drawn back into the house. The best option for this is a hand-held blower that is specifically designed for this purpose. Some models even have built-in belts to keep the air moving. Models come with a mounting bar that is positioned on the joist, preventing the fan from rotating or moving. Some people also like to run a humidifier when the bathroom is a humid place. This actually prevents the air from becoming too dry, which can cause mildew in the walls and ceilings.
Run the tubing from the fan to the outside
Finally, you will use the tubing from the washroom air cooler to vent air to the outside. This can be done on both indoor and outdoor models. It makes sense, as the indoor air cooler will be at a higher volume and heat than the outdoor version. It also makes sense because the indoor version will be running less often. Depending on the type of system you choose, the homeowner can run the fiber optic and/or electrical lines to supply power to the washroom air cooler. This can be a necessary post-punch maintenance activity but it is not necessary for all bathrooms.
Attach the fan unit to the housing
Finally, we come to the final part of installing a washroom air cooler. To attach the blower to the house, you’ll need to purchase a piece of equipment that has an internal mounting bracket. These are usually made for hanging on the wall or ceiling panel. When it’s on the wall, you can simply position the mounting system so that it is parallel to the wall and the path of least resistance. This will keep the mounting bracket from moving around, making it easier to position and attach the blower to the wall. Some models come with a remote start feature, which is great for when the washroom is being used for a home accident. Run the fan to the set speed and then unplug the power. The fan should beep three times before it starts operating.

