

Removing a wall mirror in a bathroom can be a difficult task, with the potential for costly damage if done incorrectly. Fortunately, with the right tips and tricks, it is possible to safely remove a large wall mirror in your bathroom without causing damage or injury. In this article, we will discuss how to properly remove a wall mirror from your bathroom. We will also provide helpful advice on how to best protect yourself and your belongings when removing mirrors.
1. Consider security
Removing a wall mirror in a bathroom can be intimidating, especially when there are safety concerns. But with the right tools and techniques, it is possible to safely remove a wall looking glass without damaging the glass or the wall. Here are some tips that can help ensure everything goes smoothly during this process.
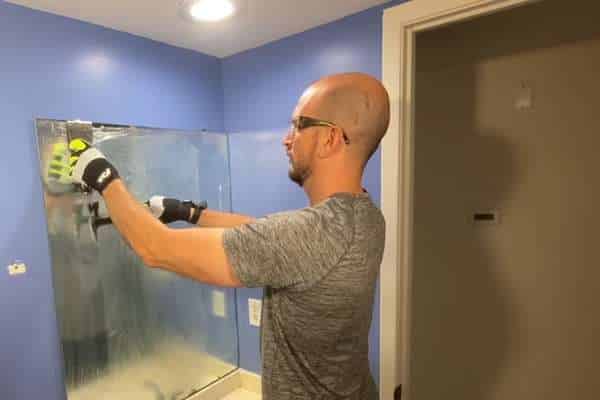
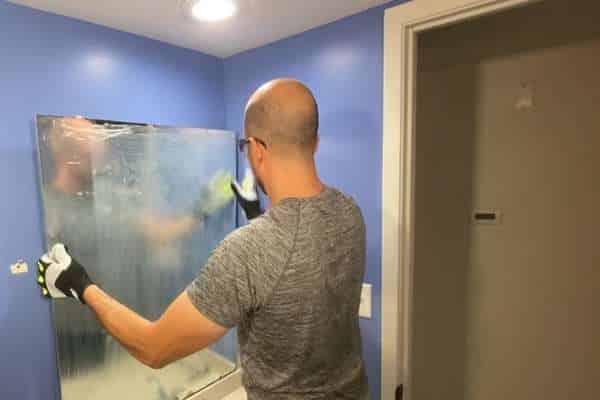
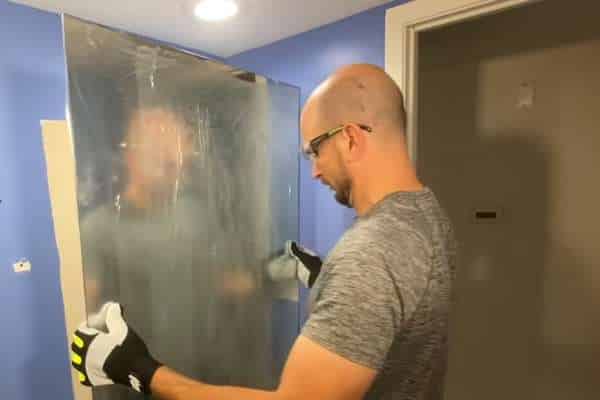
Use protective gloves, safety glasses, and a dust mask to protect your skin and eyes from any possible broken glass fragments during removal. Use a flat pry bar to gently remove the trim around the edges of the mirror. Be careful not to damage surrounding surfaces if you need to reinstall later. Once all trim is removed and all visible screws are taken out, Carefully lift one side of the frame until it separates from the adhesive backing on the wall.
2. Prepare the room

Removing wall mirrors in the lavatory can be a tricky task, but with the right tools and preparation, any homeowner can do it. Before beginning this project, there are several steps that need to be taken in order to ensure safety and to make sure the job is done properly.
Turn off the power to any connected lighting fixtures or outlets near where you will be working. Prepare a space in an area of your home where you can break down and store the mirror pieces without damaging anything else. Place tarps or plastic sheets on the ground below the mirror and tape them up around the edges securely so that debris from breaking down the glass does not scatter elsewhere.
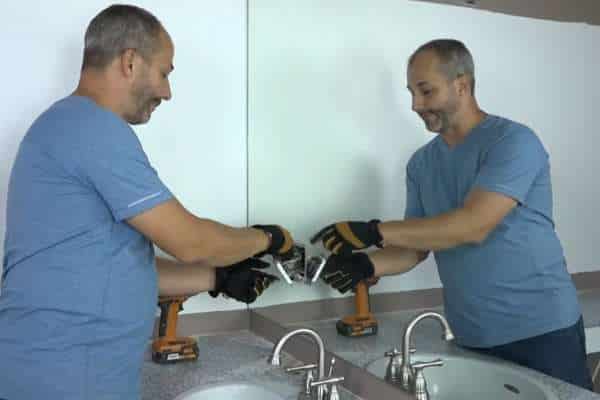
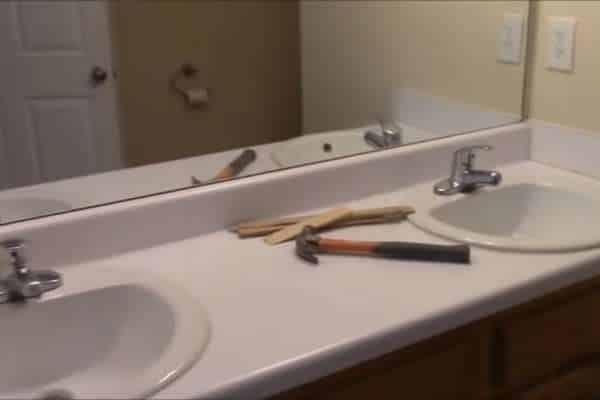
3. Collect tools and remove accessories
Removing your bathroom wall mirror can be a daunting task. Doing the job safely and efficiently requires preparation and the right tools.
The first step is to gather the necessary tools for the job. You will need a ladder, masking tape, glue remover, screwdriver or drill bit, pry bar and safety glasses. Make sure you have these items within easy reach before attempting any work on the wall looking glass. Once you have all the necessary equipment gathered and ready to go. Carefully remove the frame or trim around the edge of the mirror and any hooks or hangers attached to it from the back.
4. Cover the mirror using duct tape
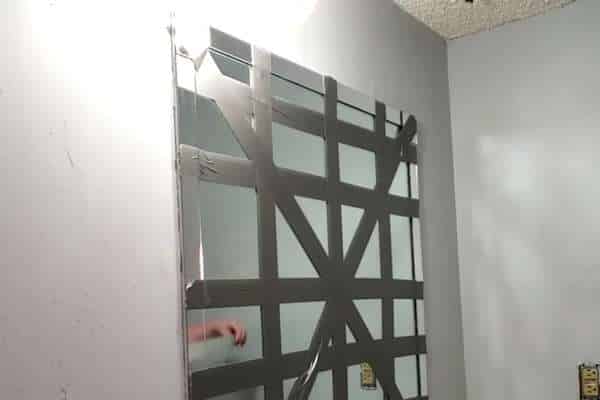
When it comes to removing wall mirrors in the lavatory, covering them with duct tape is a great option. Duct tape will not only protect the glass when you remove the looking glass. This then helps prevent shards of glass from spilling into your bathroom. Here are some steps on how you can use duct tape before removing the wall looking glass.
First, gather your supplies: duct tape and scissors to cut the tape into strips. Then measure an equal area around the perimeter of your mirror that needs to be covered with 2-3 strips of duct tape. Make sure each strip overlaps slightly so there are no gaps between them and no exposed edges on either side of the frame or corner pieces.
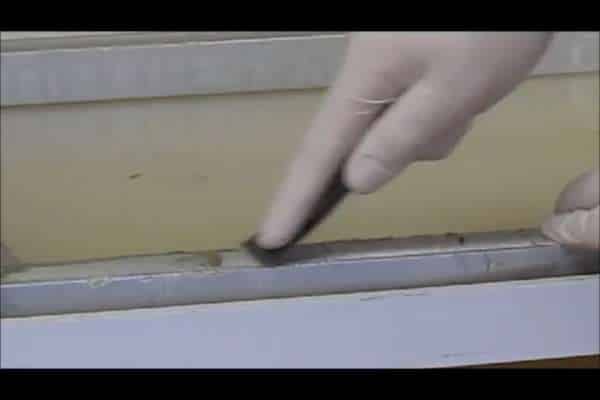
5. Loosen the adhesive mirror: heat and pry

Removing a wall mirror in a lavatory can be a daunting task. If your wall looking glass is stuck with glue, here are some tips on how to remove it safely and efficiently.
To loosen an adhesive mirror from the wall, start by applying direct heat to the surface of the glass for about two minutes using a blow dryer set on high heat. This should soften any glue or glue that may be holding it in place. Once heated, use a pry tool to gently slide between the glass and the divider. Until you feel it has come loose from the mounting bracket and can easily slide off its frame. Make sure not to apply too much force as this can chip or break both the nearby glass and divider surfaces.
6. Remove the frame and glue
Make sure that the power is off in your bathroom. Then, use a putty knife to gently pry up the frame from its edge. Carefully slide the blade between the frame and the adhesive used to secure it to the wall. If necessary, use a heat gun or hair dryer on low heat to soften stubborn adhesives like silicone caulk or acrylic sealant. Once you’ve successfully removed all of the adhesive, be sure to inspect for any residue before moving on with your remodel project.
7. Remove the hang mirror: Open the mounts
Removing a wall mirror from your bathroom can be a tricky task. Knowing how to properly remove the mount is essential for avoiding damage to both the mirror and the wall. In this article, we’ll discuss how to remove a divider mounted bathroom mirror in a few simple steps.
The first step is to gather your materials: protective gloves, putty knife, flathead screwdriver, hammer and small nails or screws. You’ll also want some towels to protect yourself and the surrounding area from any dust or debris that may escape during removal. Next, use the flathead screwdriver to loosen all of the mounting screws on either side of the looking glass and carefully pull them away from the divider using your gloved hands. If there are any nails holding up the mounts, gently tap them out with a hammer before removing them completely with pliers or tweezers.
8. Inspection and Repair
Inspection and repair of a wall mirror in the lavatory is an essential part of home maintenance. Not only can a broken or cracked mirror be dangerous, but it can also reduce the aesthetic appeal of your bathroom. Knowing how to remove a divider looking glass safely and correctly is important for any homeowner.
The most common way that mirrors are attached to walls is using adhesive backing or construction adhesive. To remove these types of mirrors, you’ll need to start by inspecting the edges for any signs of damage or separation from the divider. You’ll also need to inspect around the edges for any exposed nails or screws that may be used for mounting purposes.
9. Clean and patch the wall

Before beginning this project, you will need safety goggles, a screwdriver, gloves and other protective gear for protection. Additionally, you’ll need cleaning supplies such as warm water and detergent or soap. You will also need patching materials like spackle paste or drywall compound and sandpaper to finish off the job properly.
Begin by putting on your safety gear and unscrewing the mirror frame from the wall using your screwdriver. Next, carefully remove any remaining adhesive that may remain behind on the surface of the divider using warm water mixed with detergent or soap.
10. Safe disposal of mirrors
Removing a bathroom wall mirror can be a tedious task, and it’s important to do it right for safety reasons. Doing the job right requires careful planning and preparation, but with the right tools and techniques, you can remove your old mirror quickly.
Before starting any wall looking glass removal in your bathroom, make sure you have all the necessary supplies. Such as protective eyewear, gloves, rags or towels to protect yourself if it breaks during removal. Also make sure you have something nearby that can catch the small pieces of broken glass when lowering the mirror.
Conclusion
Removing a wall mirror in the bathroom is not a difficult task. With preparation, the correct tools and safety precautions, anyone can remove a wall looking glass successfully. It’s important to plan ahead and take your time when removing the looking glass. If done properly, you can save yourself time and money by avoiding costly mistakes. Furthermore, it’s essential to recycle or dispose of the broken glass responsibly. Remember, safety should come first while performing any task that involves hazardous materials such as glass shards.

