
Running a shower or sink in your basement can be a hassle, but it’s not impossible. Follow these tips to finish the job with rough-in plumbing:
1. Plan your layout before starting. Make sure the location of the fixtures is clear and that there’s enough room to move around.
2. Use temporary plumbing to start the job. This will let you get the job done without having to break into the actual wall.
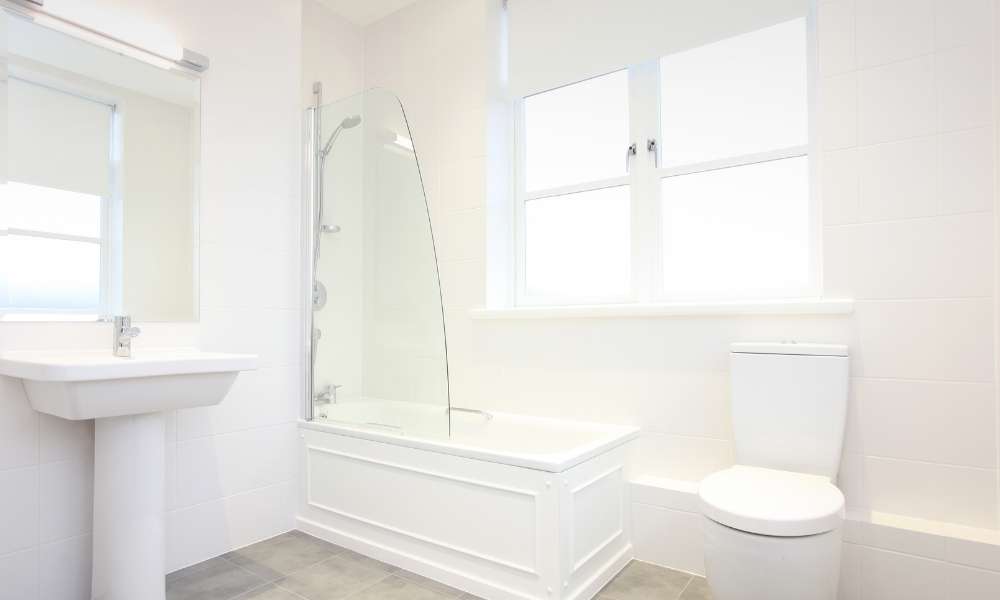
You’ve finished the downstairs walls and ceiling, and now it’s time to finish the basement bathroom. But before you can start installing the plumbing and fixtures, there’s one final step: rough-in. Rough-in is simply installing the plumbing and fixtures before you finish the rest of the basement walls and ceiling. There are a few things to keep in mind when doing this, so let’s take a look.
1. Make sure the Roughin location is stable Finish a Basement Bathroom With Roughin Plumbing.
How Do You Install A Toilet In A Bathroom With Rough-In Pipe?
Installing a toilet in a bathroom with rough-in plumbing is not as difficult as it may seem. The most important thing to remember is to measure the distance between the bolts on the toilet and the bolts on the floor. This will ensure that you purchase the correct size of toilet.
Once you have the new toilet, it is time to remove the old one. Be sure to disconnect the water line from the tank and disconnect the flange from the drain pipe. If there is wax on the flange, be sure to remove it before installing the new toilet.
Next, place a new wax ring on top of the flange and set the toilet over it. Use your fingers to press down on each side of the ring until it is seated properly against the flange. Finish a Basement Bathroom With Roughin Plumbing.
How To Install Shower In A Basement Washroom
Basement bathrooms are a great way to add extra functionality and value to your home. However, installing a shower in a basement washroom can be a challenge, since you’ll need to work around the existing appliances. Here are a few tips for how to finish a basement washroom with roughin appliances.
1. Plan ahead. It’s important to plan out the layout of your basement washroom before you start any construction. This will help you avoid any surprises later on and make the installation process go more smoothly.
2. Install the shower stall first. Once you have the basic structure of the bathroom in place, install the shower stall. This will allow you to get water and drainage hooked up properly before adding any other fixtures.
3. Work around the existing this. When installing the shower, be sure to work around the existing plumbing in your basement. Finish a Basement washroom With Roughin Plumbing.
How To Install Drywall In The Basement Bathroom?
Installing drywall in a basement bathroom can be a daunting task, but with a little planning it can be a relatively easy project. The first step is to install the rough-in plumbing. This includes the toilet, sink, and shower or bathtub. Once this is in place, the drywall can be installed.
The most important part of installing drywall in a basement washroom is taping and mudding the seams. Be sure to use high-quality tape and mud for best results. If you are not experienced with taping and mudding, it may be helpful to hire a professional to do the job for you.
Once the drywall is finished, it’s time to install the trim and hardware. Be sure to use waterproof trim and hardware for best results. Finish a Basement washroom With Roughin Plumbing.
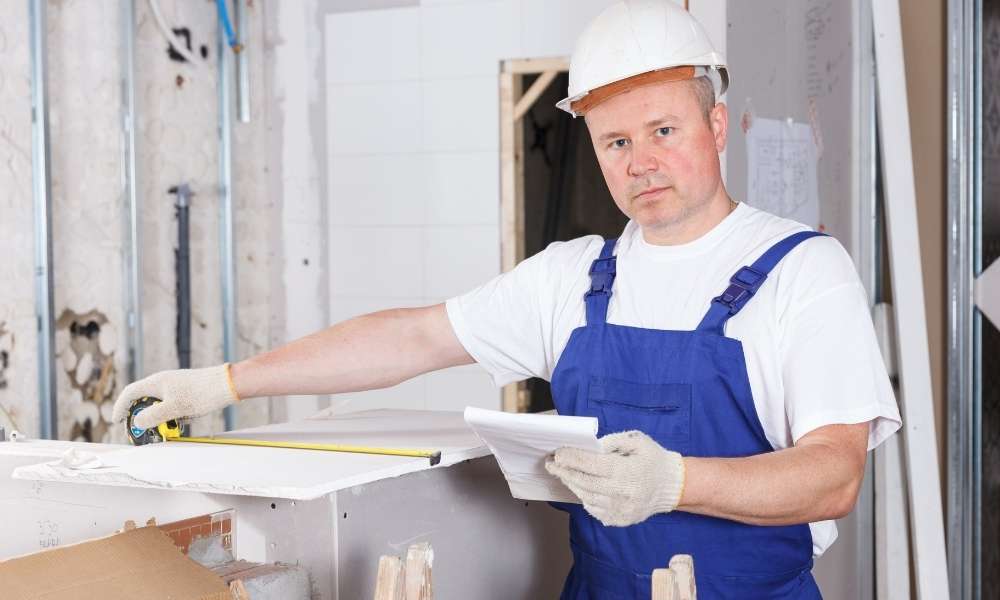
How To Tile A Bathroom Floor And Walls?
1. Installing tile is a popular way to finish a bathroom floor and walls. It is a durable surface that can last for many years with proper care. There are several steps involved in tiling a toilet, so it is important to plan ahead before beginning the project.
2. The first step is to measure the space and purchase the correct amount of tile. This can be done by measuring the length and width of the room, then multiplying those numbers together to get the total square footage. Be sure to add an extra 10-15% for cuts and mistakes.
3. The next step is to prep the surface by removing any old adhesive or paint and cleaning the area thoroughly. This will help ensure that the tiles adhere properly and do not peel or chip over time.
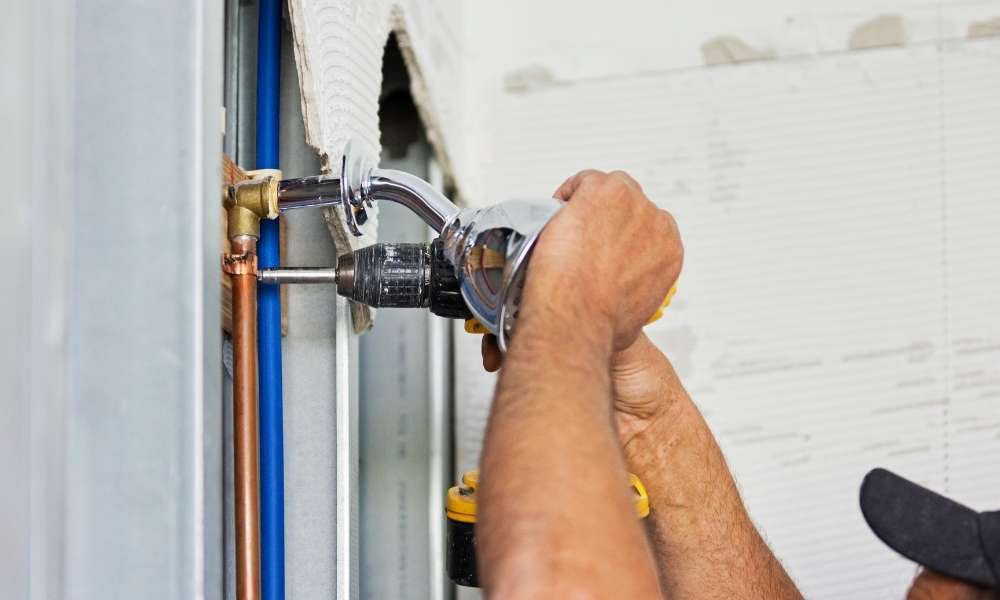
What Is Roughed In Plumbing For A Basement?
A basement toilet can add a lot of convenience and value to your home. If you’re thinking about adding one, you’ll need to know how to Finish basement washroom Roughin plumbing. This involves installing the basic plumbing fixtures in the framing of the washroom before drywall is put up. It’s a great option for do-it-yourselfers, because it’s much easier to install the plumbing before the walls are closed in.
The first step is to determine where the toilet, shower, and sink will go. Once you’ve decided on the layout, mark the locations of the fixtures on the wall with a pencil. Next, cut out each hole using a reciprocating saw or jigsaw. Make sure that the opening for the toilet is at least 24 inches wide and 18 inches deep so that you have enough room to work.
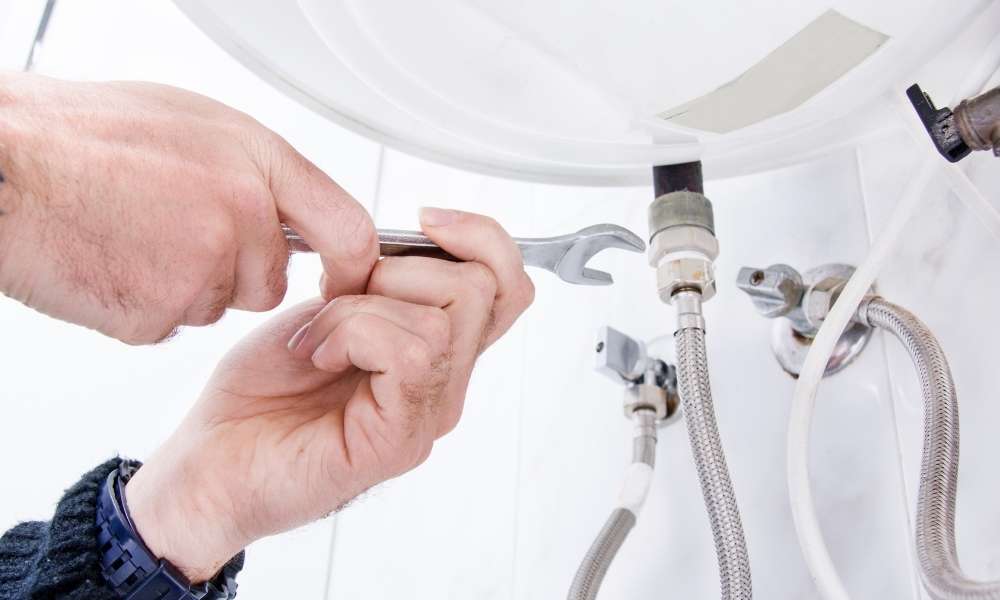
How Do You Test Rough-In Plumbing?
When you’re finished with the rough-in plumbing for your basement toilet, it’s time to test it. This is a process of checking all the fixtures and lines to make sure they’re working properly. You’ll need a helper for this step, since you’ll be testing the drainage and water supply.
Start by flushing the toilet to make sure the drainage works properly. Have your helper watch the water level in the sink while you turn on the faucet. Make sure both the hot and cold water are working correctly. Finally, test out the shower by running water for a few minutes.
If everything checks out, it’s time to start installing the finishing touches on your bathroom! If there are any problems with the plumbing, now is the time to fix them before you do any further work.
What To Do If There Are Leaks In The Rough-In Plumbing?
If you’re finishing a basement bathroom, the last thing you want to deal with are leaks in the rough-in plumbing. Fortunately, there are some things you can do to help minimize the chances of that happening.
One thing you can do is make sure that all of your connections are tight and sealed properly. You can also use waterproof caulk or sealant around any exposed pipes to help keep water from seeping through.
Another important step is to check the pitch of your drainage pipes. They should slope downwards so that water flows freely towards the drain. If they don’t, you may need to adjust them before installing the finished flooring.
Finally, be sure to test your bathroom fixtures and drains before you permanently install them. Run some water and check for any leaks or other problems.
How Much Does It Cost To Finish A Roughed In Basement Bathroom?
Finishing a basement bathroom can be a daunting task, but it doesn’t have to be expensive. The first step is to determine the cost of completing the rough-in plumbing. This will include the cost of materials and labor. Once you have this figure, you can budget for the other finishing touches, such as tiling, painting and installing fixtures.
If you are comfortable with basic plumbing tasks, you can save money by doing the work yourself. However, if you are not comfortable with plumbing, or if there are any complex wiring or framing requirements, it is best to hire a contractor.
The average cost of completing a rough-in plumbing for a basement bathroom is between $500 and $1,000. If you are hiring a contractor, the total cost of finishing the bathroom will be around $2,000 to $4,000.
Conclusions
In conclusion, by following the steps provided, you can easily finish your basement bathroom with rough in plumbing. Not only will this save you time and money, but it will also ensure that the job is done properly. So what are you waiting for? Get started today!

