
Installing a bathroom fan without attic access can be tricky, but there are a few simple steps you can take to get the job done. First, measure the distance from the ceiling to the floor joists. This will determine how high up the fan needs to be installed. Second, find a location in your room where you can place the fan. Third, use a power drill to create a hole in the ceiling that’s slightly larger than the fan’s mounting bracket.
Approximately 1 in 5 homes in the United States lacks an attic access, making it difficult to install a bathroom fan. Fortunately, there are several ways to install a bathroom fan without attic access. One option is to install the fan in a low-ceiling room such as a hallway or closet. Another option is to mount the fan on the ceiling.
Before you start installing your bathroom fan, you’ll need to first consider the location of your fan and whether or not you have access to an attic. If you don’t have access to an attic, then you’ll need to install the fan in a location that allows for proper ventilation. Fans that are installed in attics can be difficult to remove and can cause damage if they’re not installed properly.
Figure out the size of the fan
Many people want to install a washroom wing, but they don’t have attic access. In this article, we will show you how to install a bathroom fan without attic access.
The first step is to find the size of the propeller. You can find the size of the wing by looking at the documentation that came with the wing or by looking online. Once you have found the size of the wing, you need to buy an adapter that will fit your propeller.
The next step is to remove the old light fixture. To do this, you need to remove the screws that hold it in place. Once the screws are removed, you can pull out the light fixture.
The next step is to install the new adapter. To do this, you need to hold it up to where the light fixture was and mark where the holes are.
Where is the exhaust going?
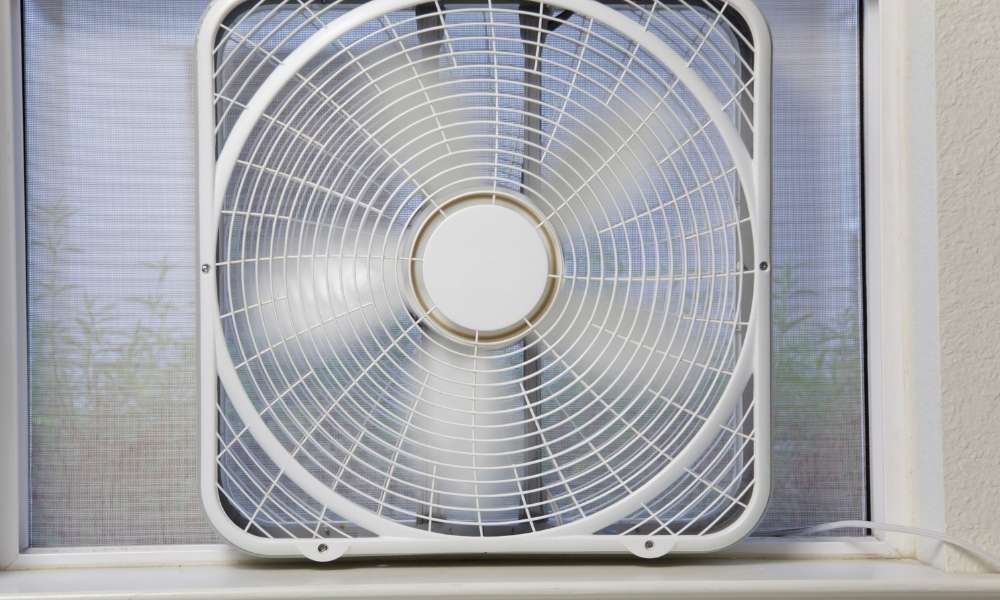
Installing a bathroom exhaust propeller can be a daunting task, especially if you don’t have attic access. The good news is that it is possible to install it without having to go into the attic. The first step is to find the right spot for your wing. You want to make sure that it is close to the window so that it can expel the hot air out of the room.
Once you’ve found the right spot, use a stud finder to mark where the studs are in the wall. Then use a drill to make two holes in the wall, one for each side of the wing. Next, use a screwdriver to attach the wing to the wall. Make sure that you are using screws that are long enough to go through both holes and into the studs behind them.
Inspect your electrical options

Installing a bathroom fan without sky parlor access is a little more difficult, but it can be done. You’ll need to purchase a propeller that is specifically designed for this type of installation.It will come with a kit that includes a special bracket and ducting.
The first step is to cut a hole in the roof near the washroom propeller location. Make sure the hole is large enough to accommodate the fan and ducting. The bracket will attach to the roof with screws, and then the wing will be secured to the bracket.
The ducting will run through the hole in the roof and down into the attic. Once it’s in the attic, you’ll need to attach it to the existing ventilation system or install a new one.
Once everything is installed, test out the new toilet wing by turning it on and checking for any leaks.
Remove your old exhaust fan

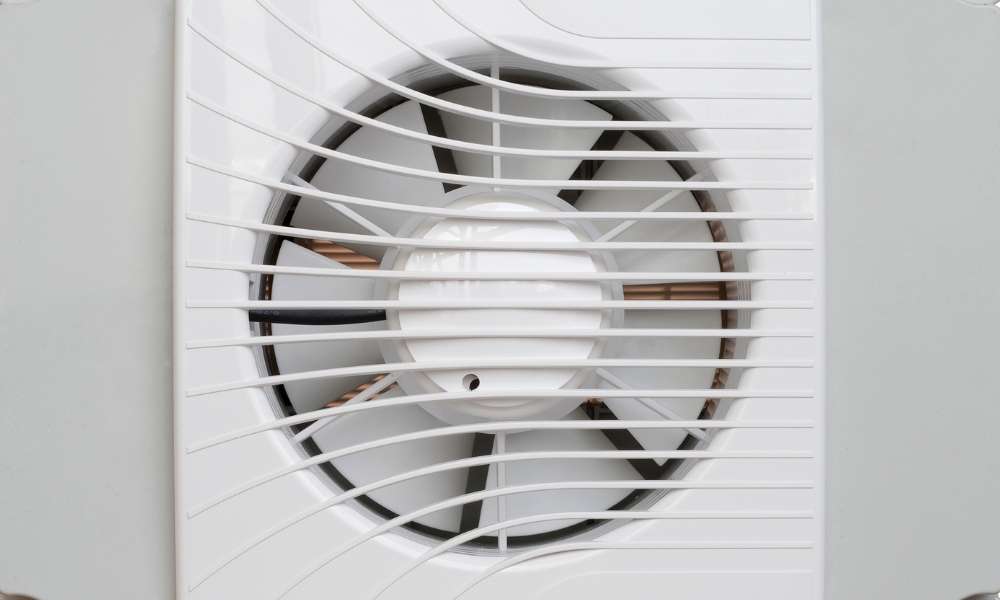
Installing a washroom exhaust propeller is a great way to remove moisture and bad air from your washroom. However, if you don’t have sky parlor access, installing a new propeller can be tricky. In this article, we will show you how to install a cloakroom exhaust propeller without sky parlor access.
The first step is to remove the old exhaust wing. To do this, you will need a screwdriver and a ladder. Start by unscrewing the screws that hold the wing in place. Then, use the ladder to climb up to the roof and remove the wing housing.
Once the old exhaust propeller is removed, install the new propeller using the same screws that were used in the previous installation. Make sure that the new wing is mounted securely in place. Then, reconnect the wiring and reattach the housing cover.
Mounting your new bathroom exhaust fan
Installing a cloakroom exhaust wing can be a daunting task, even for the most experienced do-it-yourselfers. If you don’t have sky parlor access, the job becomes even more challenging. But with a few tips and a little patience, you can easily install your new bathroom exhaust propeller without having to go into the attic.
The first step is to remove the old propeller, if there is one. This can usually be done by unscrewing it from the ceiling or wall. Once the old wing is removed, measure and cut a hole in the ceiling for the new propeller. You’ll want to make sure that the hole is big enough that to fit comfortably and that there are no wires or pipes in the way.
Once the hole is cut, install the mounting bracket for the new propeller and screw it into place.
Attach the duct connector to the duct

Installing a bathroom exhaust propeller can help remove moisture and pollutants from the air and improve the ventilation in your bathroom. However, if you don’t have sky parlor access, installing it can be tricky. The good news is that there are a few ways to get around this obstacle.
One option is to use a duct connector. This is a piece of metal tubing that connects the wing to the ductwork in your attic. It allows you to install that without having to go into the attic.
To install a bathroom exhaust wing using a duct connector, start by attaching the connector to the propeller. Then, attach one end of the connector to the ductwork in your attic and the other end to the exhaust pipe on your bathroom ceiling. Make sure that all connections are secure and tight before turning on the wing.
Test out your new bathroom exhaust fan

Installing a bathroom tire out fan is a great way to keep your bathroom fresh and clean. But what if you don’t have sky parlor access and can’t run the fan’s wiring through the roof? Here’s a simple workaround:
1. Cut a hole in the ceiling above the shower or bathtub and install a propeller vent.
2. Extend the fan’s ductwork down to the hole you cut in the ceiling.
3. Seal any gaps between the ductwork and the wall or floor with caulk or expanding foam insulation.
4. Connect the fan’s power cord to an outlet near the bathroom vanity.
5. Turn on the wing and enjoy fresh, clean air!
Conclusions
In conclusion, installing a bathroom wing without attic access is a challenging task, but it can be done. Be sure to follow the steps outlined in this article and you will be on your way to a cooler, drier bathroom.
In conclusion, there are a few ways to install a bathroom fan without attic access. The easiest way is to use the existing duct work, but if that’s not an option, then you can use a flexible exhaust hose. Finally, make sure to seal all the seams and joints with caulk or weatherstripping to prevent leaks.

